Plickers
Plickers is a great way to quickly and easily assess a large number of students. Scroll all the way to the bottom to read how I first got started with the program and how my use of it has changed over the years. Also, click on the following links for my Plicker related info...
PLICKERS UPDATE
(5/16/15) *SEE BELOW FOR ORIGINAL POST*
Just when I thought the Plickers program couldn't get any cooler, it has. The company listened to its users and has put out an updated version that allows pictures and animated GIFs to be added to the questions. Also, you can add multiline questions too!!!
PLICKERS ORGANIZATION UPDATE
(5/16/15)
PLICKERS
(ADDED 2/6/15)
|
Of all the programs out there to assess students, nothing impresses me more than Plickers. Plickers is a program and subsequent app that allows teachers to use their iPhone or iPad to scan the room and assess an entire room of students in less than 1 minute. Here's how it works:
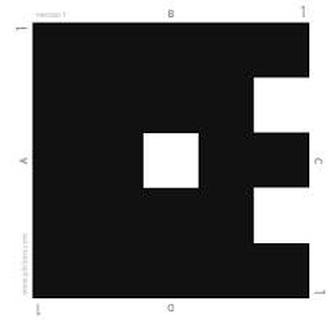
-First, Plicker cards are printed out from the Plicker's Website (See link below). -Second, students in each class are assigned to a number that corresponds to the number on the Plicker cards. -Third, teachers program in questions that have 2,3, or 4 possible answers. -Fourth, teacher asks a question, students hold up the cards based on what they think the answer is (Cards have letters printed above the main black and white card code). -Fifth, teacher opens Plicker's app and picks the right class, then the question, then scans the room. If you're with me so far, watch this video. It will blow you away... |
|
Tell me that's not the coolest thing ever! A couple of things to consider:
-First, print the cards out on cardstock.
-Second, DON'T laminate the cards. The gloss of the lamination material prevents the cards from being readable.
-Third, if you want them to last, consider purchasing a specially laminated set on Amazon.com. As of this writing, I purchased a set, but have yet to try them out. I will update this post when I do.
*UPDATE* The cards I purchased on Amazon work just fine!!!
-Fourth, write the letters of the answers on the back of the cards so students know what letter is on the top.
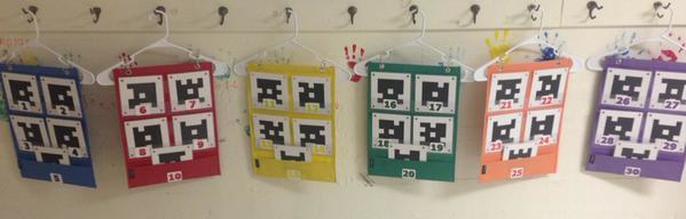
-Fifth, consider organizing the cards in some sort of wall organizer. Here is a picture of what I am using:
-First, print the cards out on cardstock.
-Second, DON'T laminate the cards. The gloss of the lamination material prevents the cards from being readable.
-Third, if you want them to last, consider purchasing a specially laminated set on Amazon.com. As of this writing, I purchased a set, but have yet to try them out. I will update this post when I do.
*UPDATE* The cards I purchased on Amazon work just fine!!!
-Fourth, write the letters of the answers on the back of the cards so students know what letter is on the top.
-Fifth, consider organizing the cards in some sort of wall organizer. Here is a picture of what I am using:
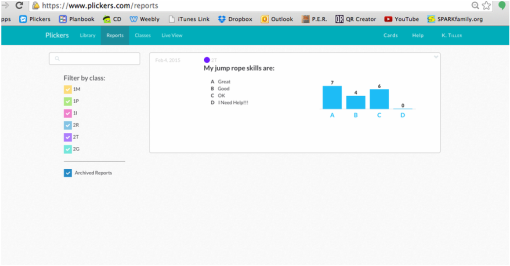
Well, that's about it. This is a great way to check for understanding (as an exit ticket) as well as providing surveys to see where students feel they are in regards to their skill level. Here is a picture of a survey I did asking students how they felt about their jump rope skills. (Note: I can also view each individual student's response too. For privacy sake, this screen shot is just a general class graph). I take this information to plan my lessons for this unit: